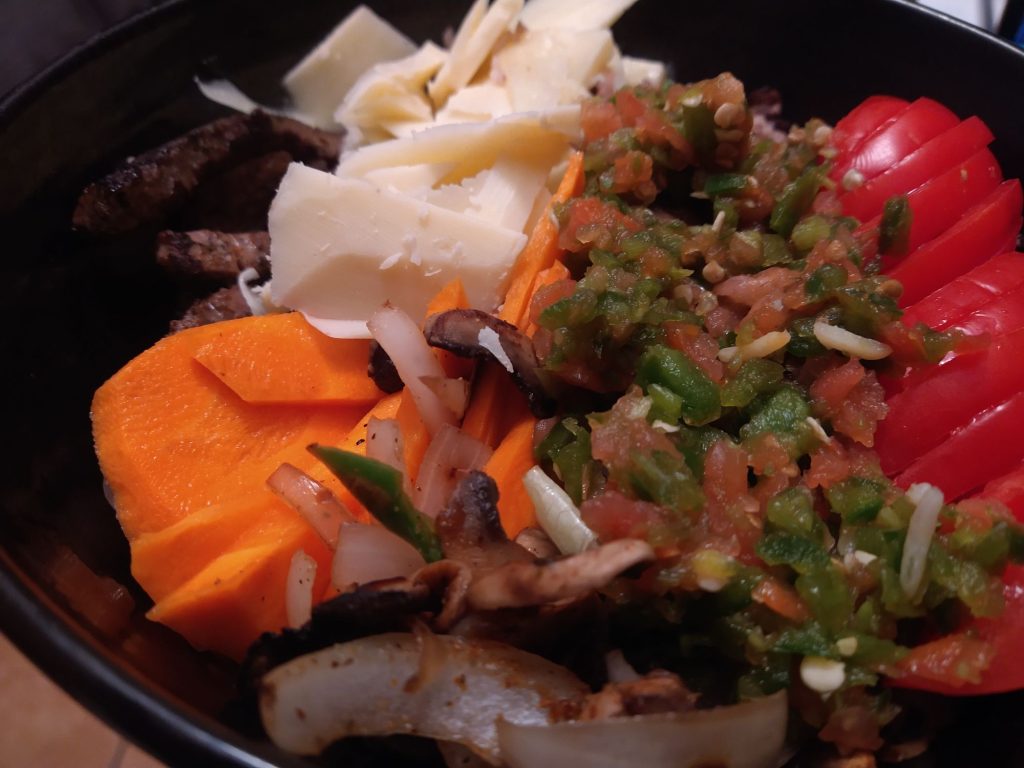

Okay, not spam. But I’ve been watching a lot of spam appreciation posts, so I decided to try some. But I bought the cheap knockoff version from Aldi’s
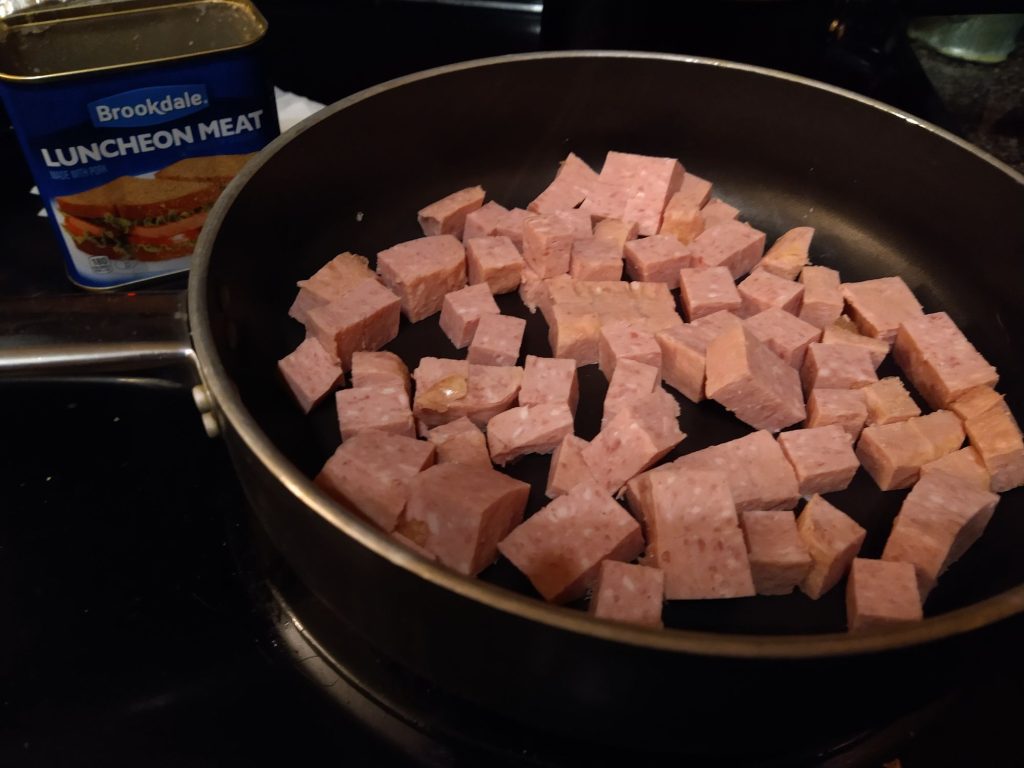
I cubed it and fried it. And decided that was too much, so I also pulled about a third of the cooked meat out and refrigerated it for future omelets and quesadillas. I also tasted it, and it mostly tasted like nothing – hot smooth fatty nothing. So I will have to retry with the actual name brand product.
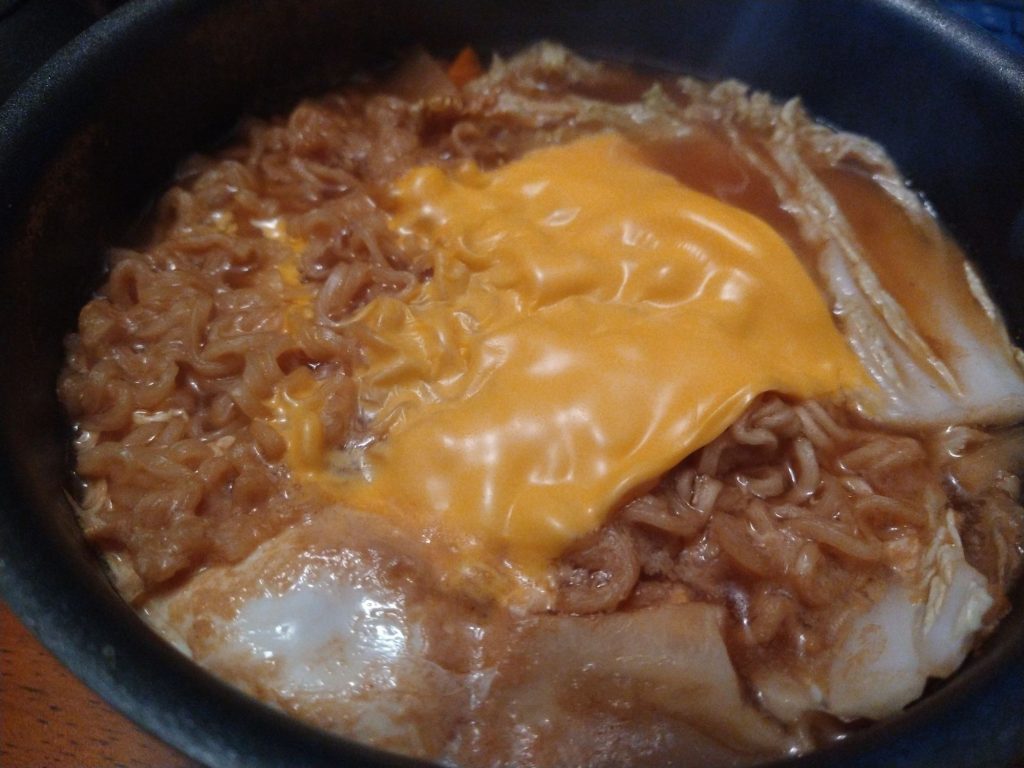
I think cooked some diced onion and carrot in the rendered fat.And then added a pint container of leftover chinese takeout white rice, with all of the clumps worked out. I also have canned shelf stable kimchi because it’s not something I go through fast enough to not waste kimchi with live fermentation. But that also meant I knew it would be mild, so I added a healthy spoonful of gochujang. (Also I drained the liquid off, cut up and added the cabbage first, and then added the gochujang and kimchi liquid – and a teaspoon of soy sauce – toward the end)
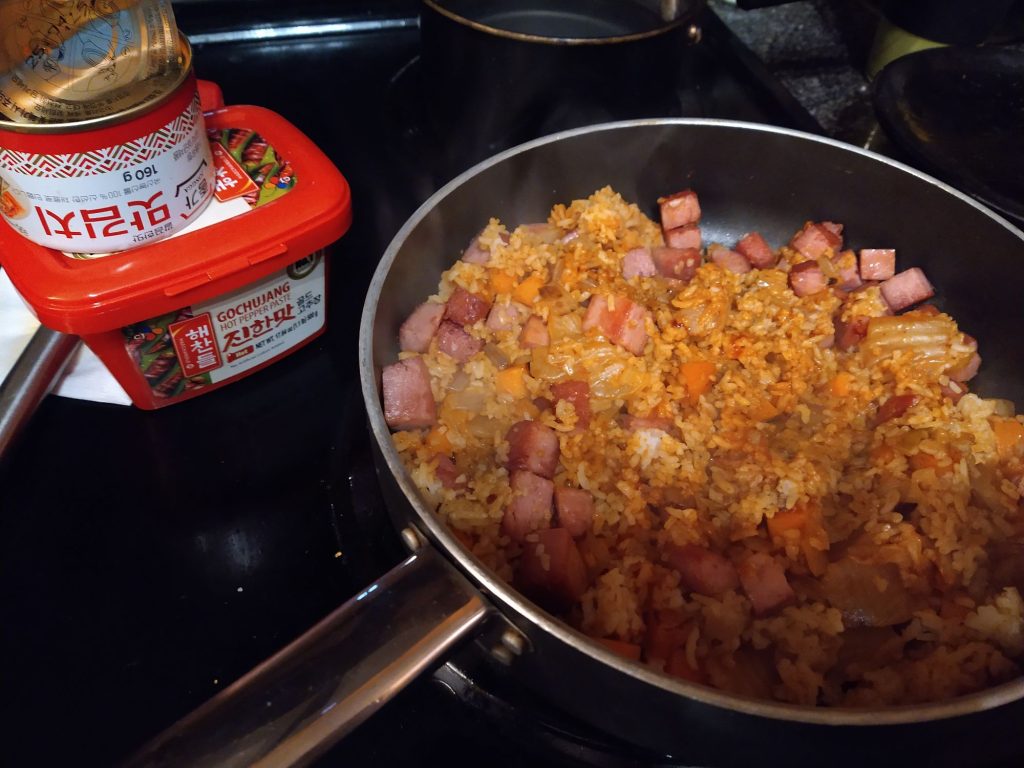
And then added a pint container of leftover chinese takeout white rice, with all of the clumps worked out. I also have canned shelf stable kimchi because it’s not something I go through fast enough to not waste kimchi with live fermentation. But that also meant I knew it would be mild, so I added a healthy spoonful of gochujang. (Also I drained the liquid off, cut up and added the cabbage first, and then added the gochujang and kimchi liquid – and a teaspoon of soy sauce – toward the end)
and then I fried an egg and put it on top!