I’m repairing and refreshing all of the garb I’ve made four my friend L over the years.
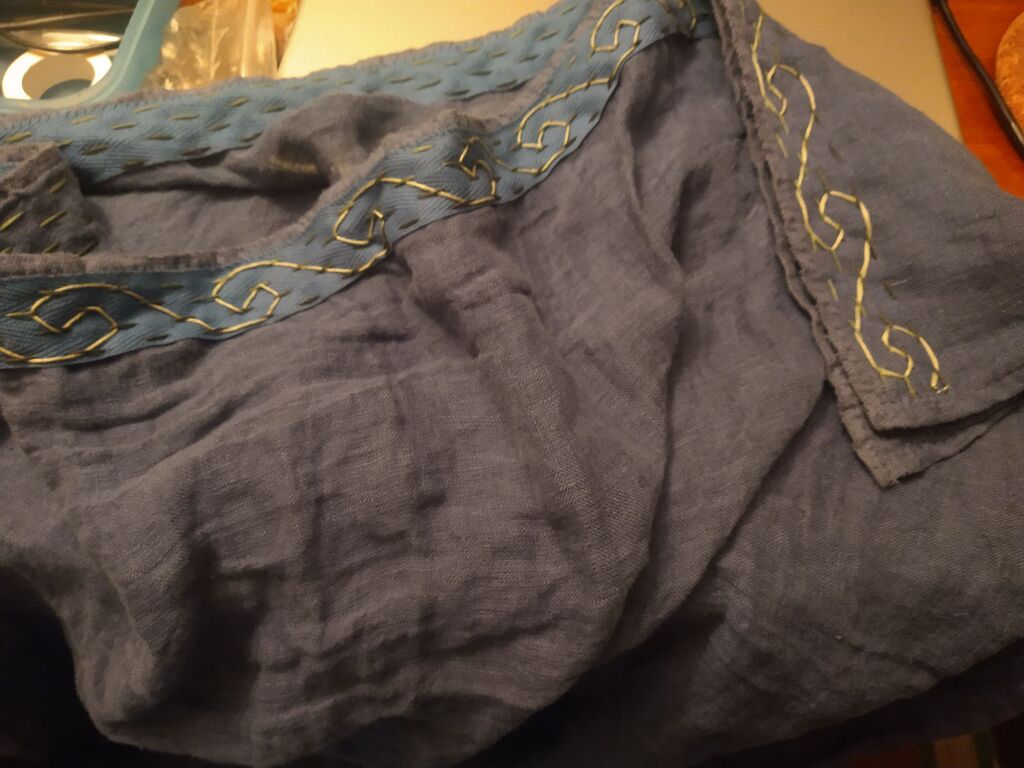
I forgot to take pictures for most of it, but this linen gauze chiton is my second experiment with embroidery.
The gauze ended up being too weak to support the shoulder attachments, even when sewing through the hem. So I added a cotton twill band at the top. I tucked it into the top hem, which ended up having one on the inside and one on the outside of the dress… and I kind of liked how they both looked, so I just went with it.
And then I was looking for a style of embroidery that would be both reinforcing (holding the band to the gauze with minimal stress on the fabric) and beginner friendly (hopefully fast to finish).
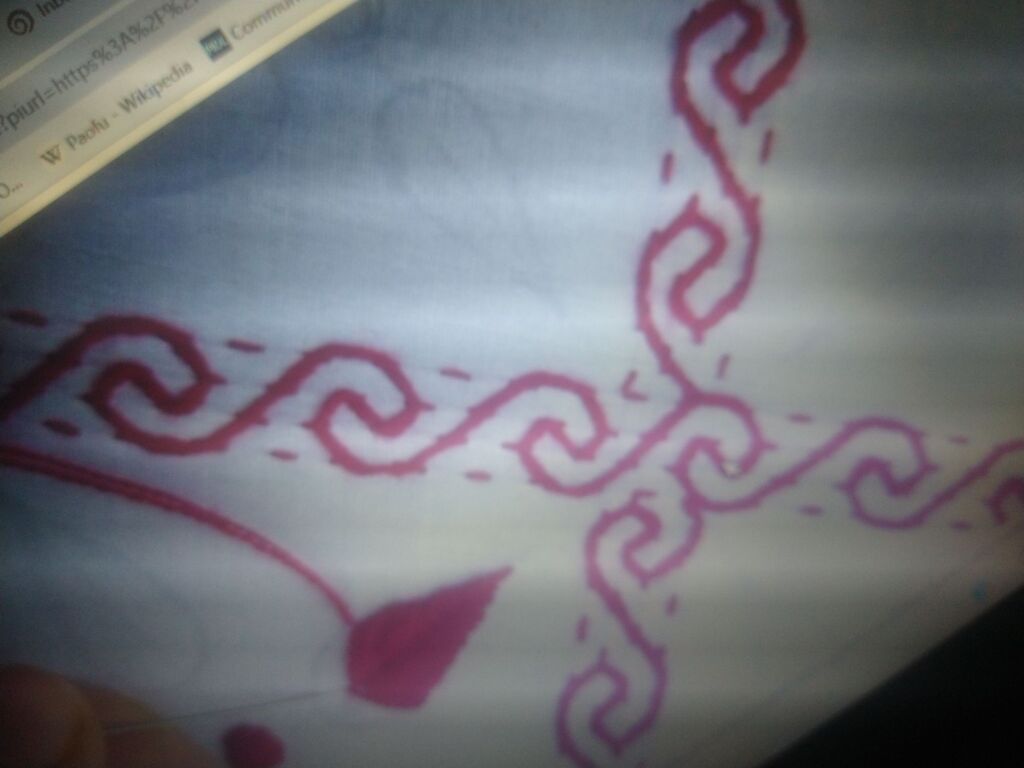
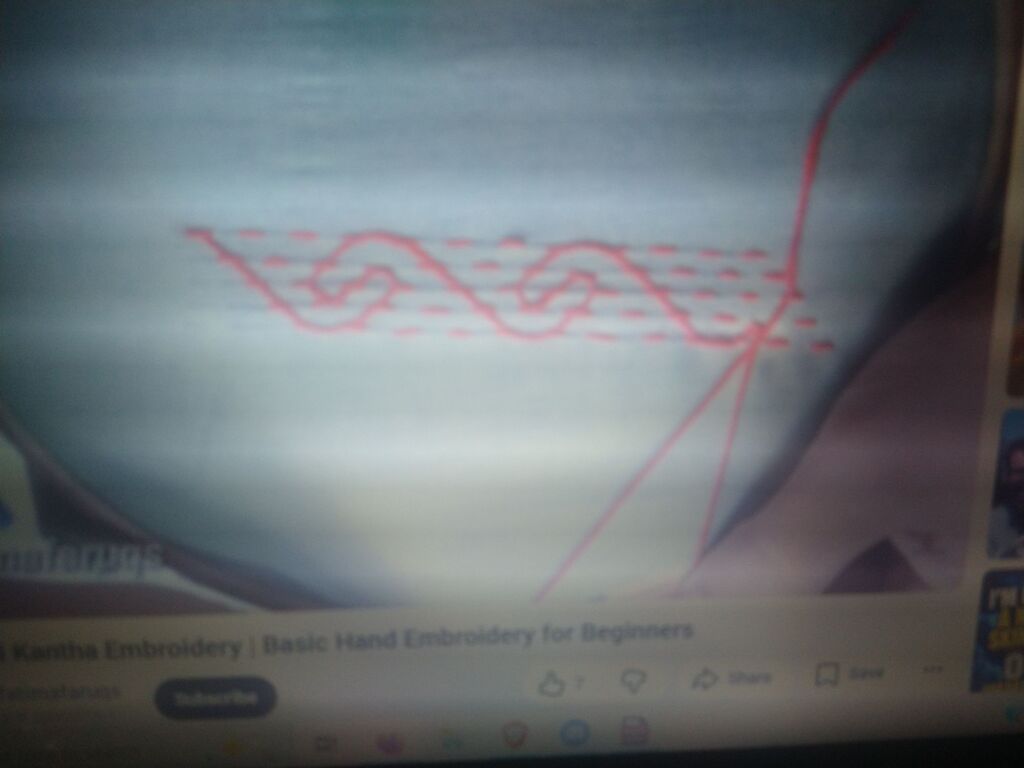
A friend of mine has been advocating for an Indian embroidery style called nakshi kantha (running stitches decorated with interlaced designs). I went looking for a pattern that felt even vaguely Greek/Hellenistic/Roman, and ended up with a waves design.
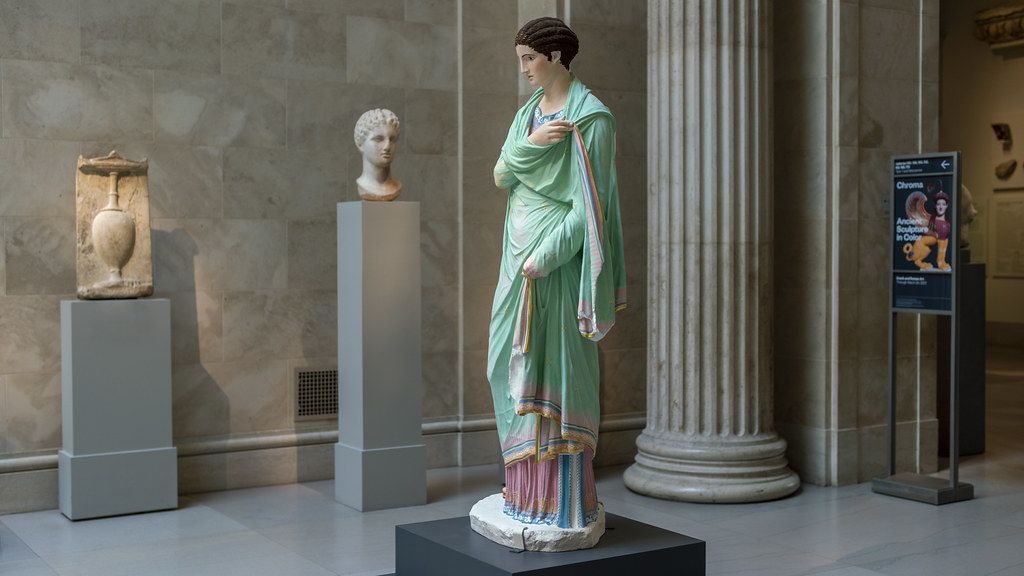
In 2022-2023, The Metropolitan Museum of Art had an exhibit about polychromy in antiquity. I had long been familiar with the Liebieghaus Skulpturensammlung sponsored (and exhibited) work on reconstructing ancient aesthetics, and I’d even seen a few examples at the New Acropolis Museum in Athens, but this was my first time seeing so many of their pieces. And I was struck by the Small Herculaneum Woman statue because not only did it have tastefully vibrant pink and teal, but the teal layer was painted to be translucent with the pink under layer showing through! And this was based on the actual pigment residue.
photo taken by Steven Zucker, Smarthistory co-founder (2022)
And that blue edge that’s goes up vertically on her left side has a wave pattern! So that’s what I was thinking about as I chose this design.
I found youtube tutorials with four or five lines of running stitches. After asking several friends’ opinions, the consensus was the 4 line version because there was less unused space.
And I scaled up to cover the whole width of the twill tape (and hoping to lower the difficulty).
How did I do?
I think it would look better smaller, and I’m mostly reserving judgement about how much I like it until I’ve seen how it goes through the laundry a couple times and if it snags on things because it’s so loose.
But I do tentatively like it and am kind of proud of myself
I’m the chatelaine for my local SCA group, so I’ve got custody of the bags of loaner clothes for people who haven’t yet put together their own outfits to wear to events.
We’ve been trying to refresh our options and have donated some of our garb to a newly opened college branch and also had a large chunk of our male garb destroyed by a student’s landlord. So we’ve been replacing some things. Because of the demographics of our group, we’ve mostly been focusing on replacing with larger sized outfits.
But then I had a thinner person looking for garb! For an event at the end of the week. And I was pretty sure we wouldn’t have anything to loan. (But I also didn’t want to promise to have made something because I have never tried to sew with this short a deadline. So I also didn’t ask for measurements)
Step 1 – ‘planning’: I fucked up my math I knew this person was a size small and had a 31″ waist. So I looked up other standard measurements for a men’s small and decided to go with a 34″ chest. So I took my fabric and measured out 34″, added a bit of extra for comfort, and figured the tunic length would be selvedge to selvedge (~52″) folded in half. And went ahead and cut there.
… And then I realized I had measured out a whole circumference and not the half a circumference I would need. But then I decided to see if I could make the entire piece from this already cut fabric.
Very rough cutting diagram with poorly remembered measurements
Cutting the pieces: So I then divided in half? Well, no. I figured I should make it just a touch wider just in case and just sort of eyeballed how wide the torso would be. This cutting diagram has measurements, but I didn’t actually put a ruler to that part.
Then I measured from my shoulder to over the palm and where my fingers start. And the number 26″ is what I think I got, but I didn’t write it down. It was more than half of the tunic, which does seem very long (or a short tunic) but it was fine.
And I double checked that the narrower part divided in half would make sleeves wide enough. According to the size chart I found, I was aiming for an 15″ upper arm. And these were narrower. BUT once you cut off the taper for the wrist and flip them around to be underarm gussets it would just make that number. Honestly, until it was tried on I still want sure whether this gusset would be big enough. For the wrist diameter, I measured the widest circumference of my hand (because hand sizes have little relationship with waist sizes) and went with a little less than 10″. I centered that on the sleeves and cut the corners off up to the halfway/elbow part.
Honestly, I’m not sure how/why it was still working. But also I figured that I didn’t actually know this person’s size, so we’re winging it!
And then the remaining square I split in half lengthwise and then cut into right triangles for gores.
Sewing it together: first I got the gussets seen to the wide part of the arms.
Then I got the arms sewn to the midpoint on the torso – being careful to keep track of the inside and outside of the pieces. I love flat felling when sewing linen, but sometimes the inside and outside are too similar and I’ll flip pieces. But this time – since it was for someone else, I was very sure to keep track.
Sewing the gusset to the arm with a flat felled stitch that is two parallel running stitches
Once the arms were on, I added the gores. Again, I’m not swearing to the measurements in the diagram. My gores only came up to about 3″ below the arm, and that was with sewing on the hypotenuse (which you want to do so that the bias edge is stabilized by the on grain edge), so that’s why I was free to do that after the sleeves sewing.
Then while I was still flat, and easy to access both the inside and outside, I went to making the neck hole and adding a facing. I decided to turn the facing to the inside, instead of making a contrasting decorative panel, because that’s more appropriate to a wider range of cultures and time periods. But I’d used up all of my square of fabric! Instead of cutting a new piece from the remaining cloth, I went to my scrap stash and looked for a piece the right size (in a lighter color because it would be on the inside and showing through the handkerchief weight fabric a little). There was a white piece that was just perfect.
I feel like I should be able to pin the facing in place and just cut the neckline for both pieces at the same time, but I figured I’d be safe and cut the neckline (narrower than you actually want – because seam allowance – and a keyhole slit for ease of putting it on) on the primary fabric first. Then just a rough (slightly smaller) hole on the facing. Pin all of the sides flat and even. Then sew around the neckline.
After you’ve gotten it sewn, then trim the inside of the circle to the right shape and amount of steam allowance you want. And clip the seam allowance at the curves and corners. Then I flipped it to the inside and did another line of stitching around the neckline pulling the facing in slightly so that the yellow fabric would cover all the way over the turn.
Then I spread the facing fabric as smoothly as I could and pinned it in place. A more diligent person would have paused to iron here. And I whip stitched the edges of the facing down.
Now! I could finally sew up the long side seams.
Three flat felled seams coming together neatly is just so very satisfying
I’ve found that when I’m flat felling, I do have to cut in a little deeper in the seam allowance when I’m going around the points of the gores so that I have room to tuck all of the raw edges into the seam.
Finished garment!
For the side seams, I started at the wrist because that’s the part that most visible needs to line up. Then a running stitch down to the hem. And then on the way back, fold everything over and flat, and then another running stitch holding the folks down on the way up. It’s surprisingly fast and much more stable than I ever thought running stitches would be.
When I came to the end of each wrist with a finished seam, I went ahead and folded the fabric on twice and hemmed the wrist opening.
At the end, all that was left was a quick hem of the bottom of the skirts.
If I had more time (or if it returns to gold key) I would like to add some simple embroidery to the area over the facing to keep the material folded inside flat when it gets washed. But that is an experiment for the future.
Meanwhile, I did finish in time, AND the tunic fit the recipient perfectly.