Warning: Undefined variable $show_stats in /home/jdqespth/public_html/wp-content/plugins/stats/stats.php on line 1384

Pennsic

I haven’t been to Pennsic in about eight years, but I had been planning outdoor cooking experiments and making garb the whole time, so I had too many options to pick from rather than too few.

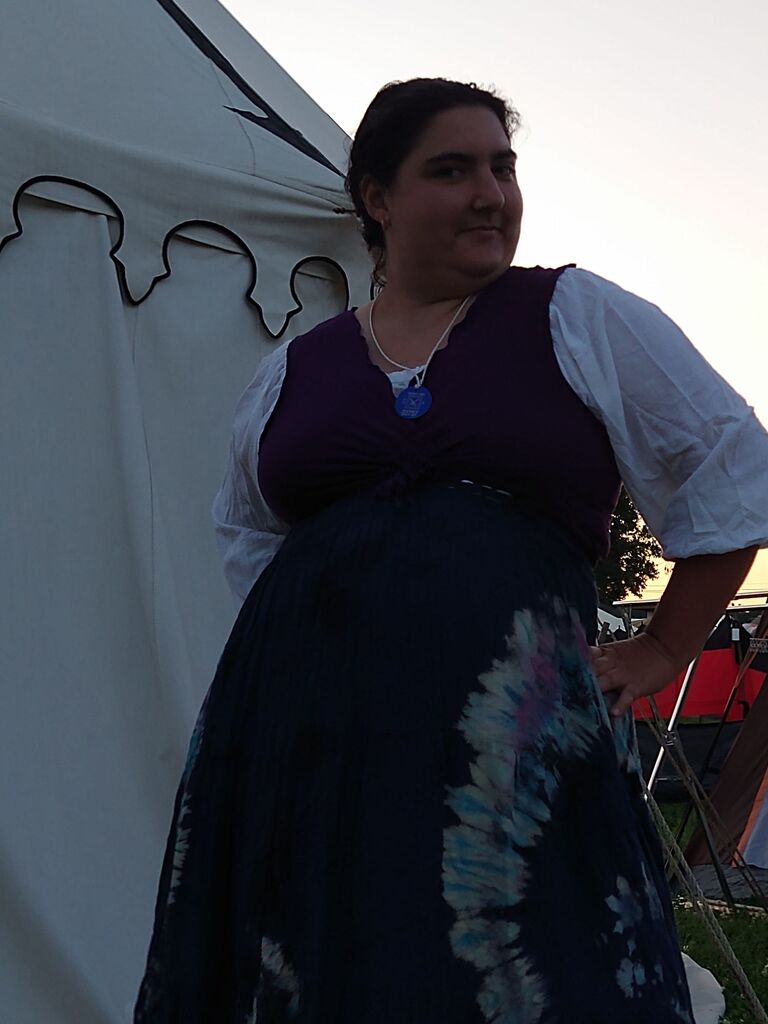
One of my big goals was to get photos of all my Pennsic garb, but like always, I hardly ever had my phone out and ended up with very few pictures from the two weeks.

My first packing plan was to only take the hottest weather clothing and use the extra space for more cooking plans, but then I was lucky enough to check the weather forecast twelve hours before I would leave because it had changed a lot from the long range forecast! Apparently we’d be getting all the weather, including some cooler temperatures.

And once I was there I hardly even cooked because one of my campmates has devised a whole meal plan for war and I could barely offer help with dishes and some side dishes.

When I was cleaning out my refrigerator if perishables before I left, I turned all of the lingering perishables into quick pickles.
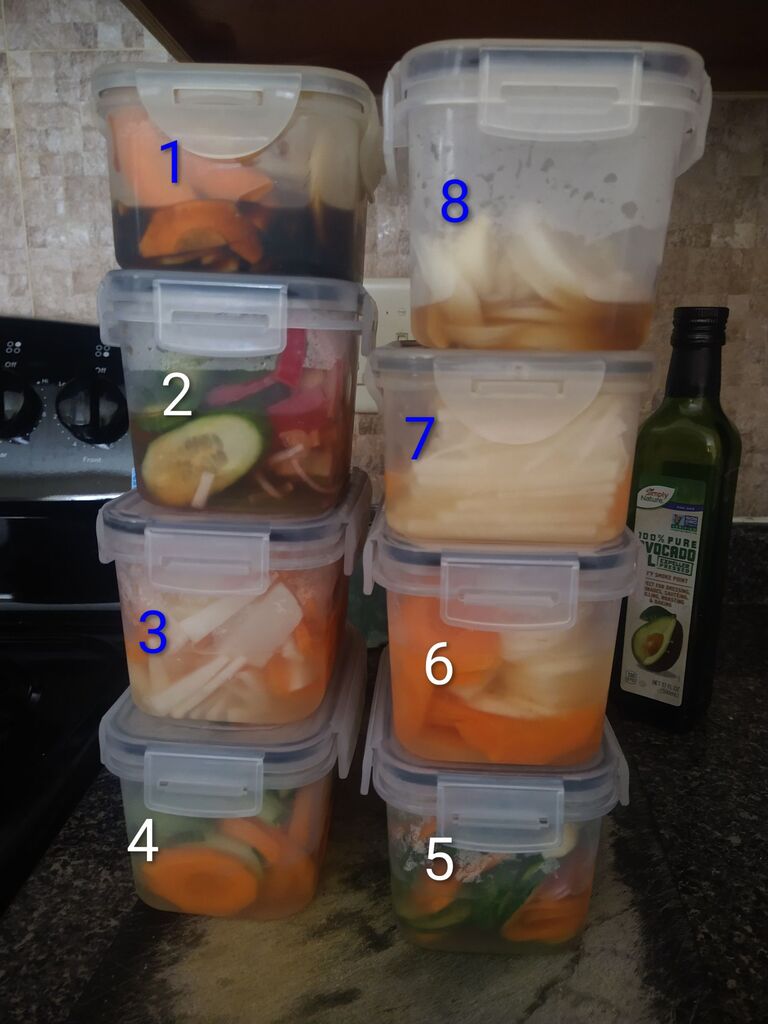
Eight small rectangular plastic containers with locking lids that could be stored in a cooler without leaking. They’re numbered to match with the descriptions below.

I was working with five big carrots, one and a half daikon radishes, 1 garden cucumber, 8 persian cucumbers, 1 purple onion, 1 yellow onion, 3 Vidalia onions, and 2.5 heads of garlic

1) carrots, daikon, yellow onion in black vinegar
2) cucumber and purple onion in red wine vinegar
3) a chunk of ginger in the bottom, carrots, and daikon in rice vinegar
4) carrots and cucumbers in rice vinegar
5) carrots and cucumbers and purple onion in rice vinegar with a dried chili
6) carrots and daikon in seasoned rice vinegar
7) fine matchsticks of daikon and carrot in rice vinegar
8) Vidalia onions, garlic cloves in malt vinegar

My other preparation ahead of time was to make little gifts I could give to camp mates and people displaying their Arts & Sciences research in competitions. I’m very proud of myself because I always forget tokens of appreciation.
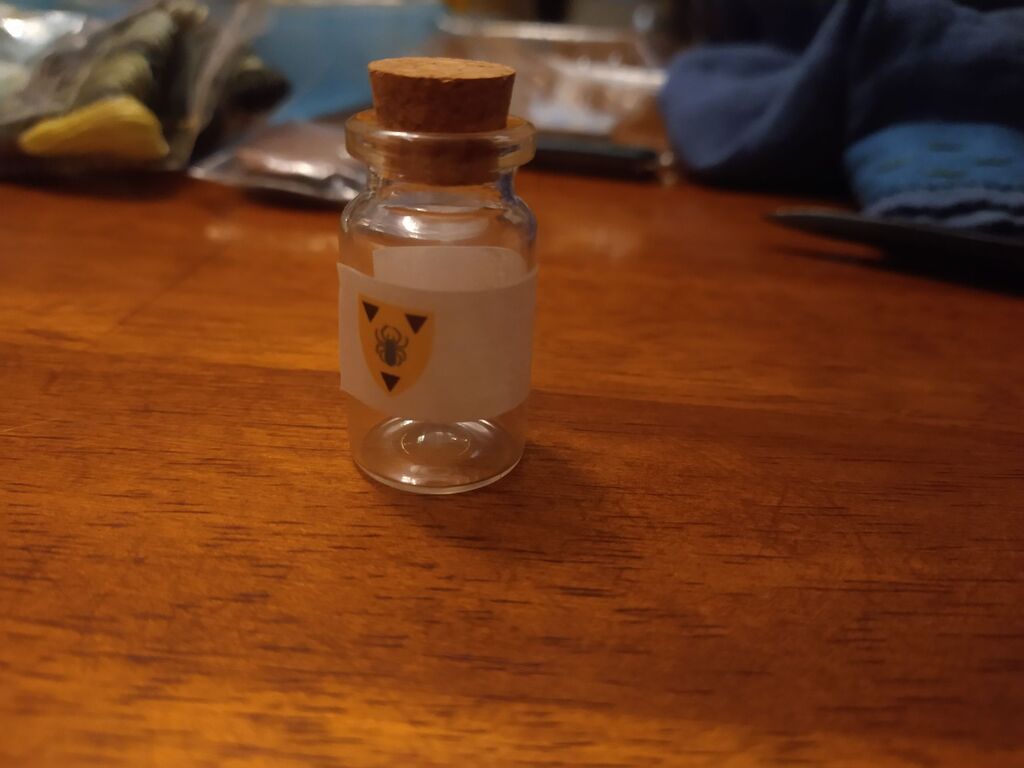
Proof of concept before assembling then at scale

I bought tiny glass jars with corks, and then I special ordered some washi tape to make a personalized label – and ended up getting the spacing perfect!
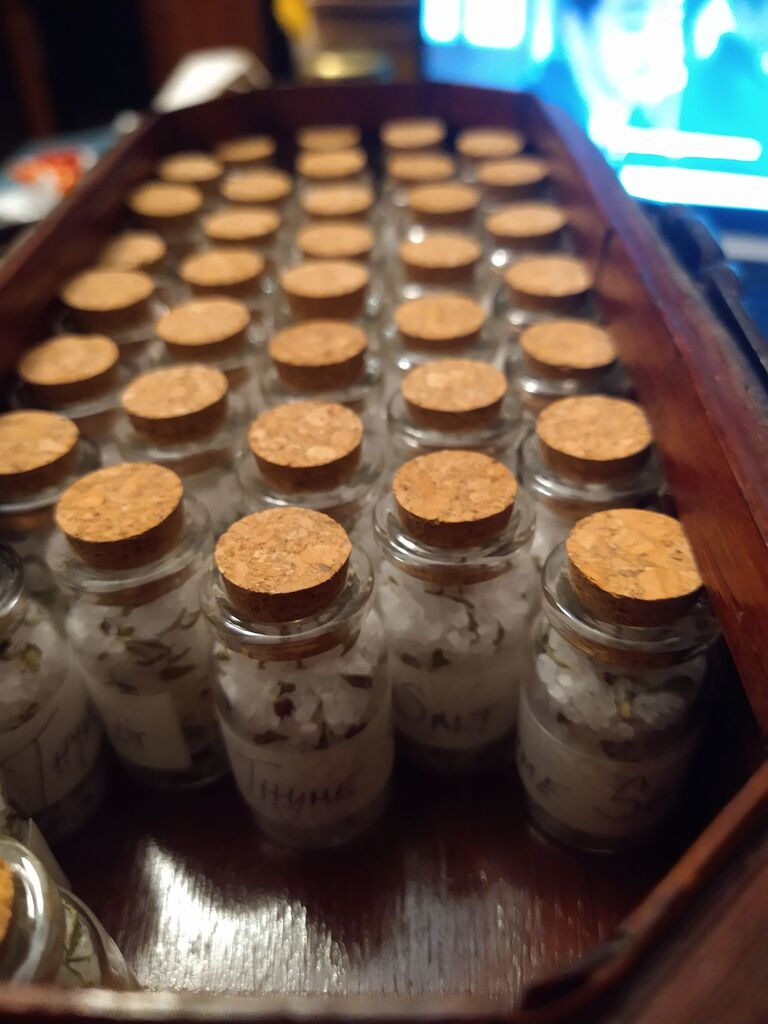
So I made 80 bottles

A few years ago, a retired former coworker of mine gave me some flavored salts that she had made (mostly with dried citrus zest), and that seemed like a reasonably stable gift that most people would not be allergic to. And I have been harvesting and drying more thyme from my garden thanks can use it give away, so that was that I decided to flavor my salt with. As for which salt to use, I’ve been very excited recently to have found a coarse salt that ALSO has iodine, so that was my choice (and yes, I did tell people about the iodine). And that was VERY well received as a gift. I’ll need to think of something similar to do next time I go.
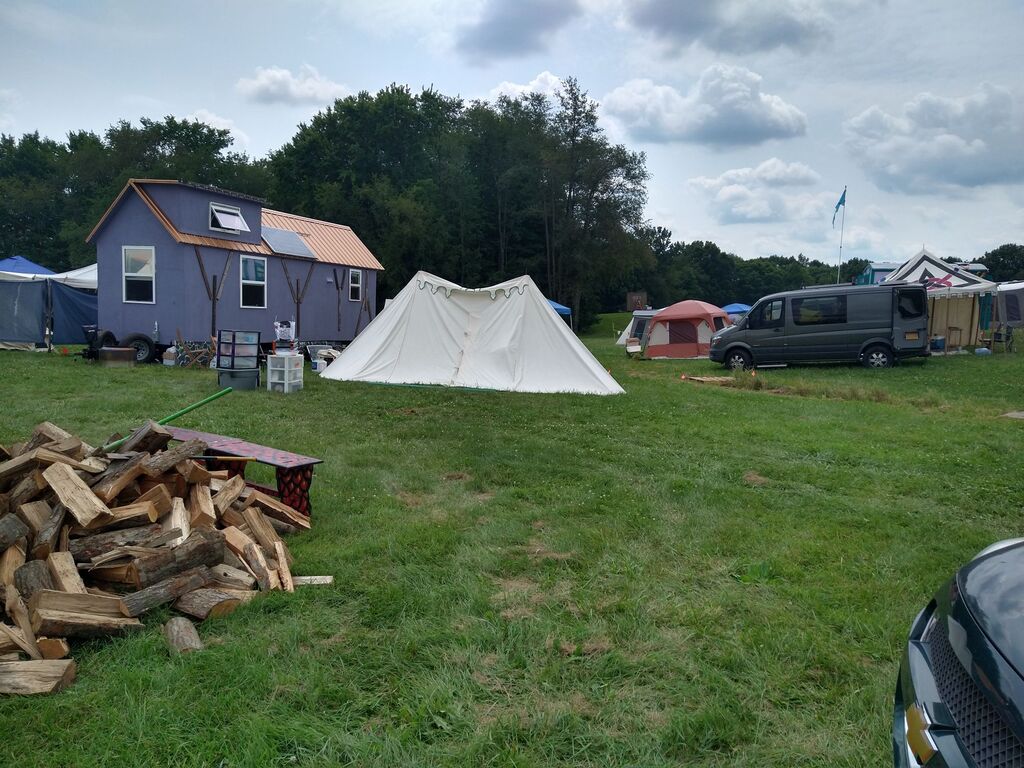
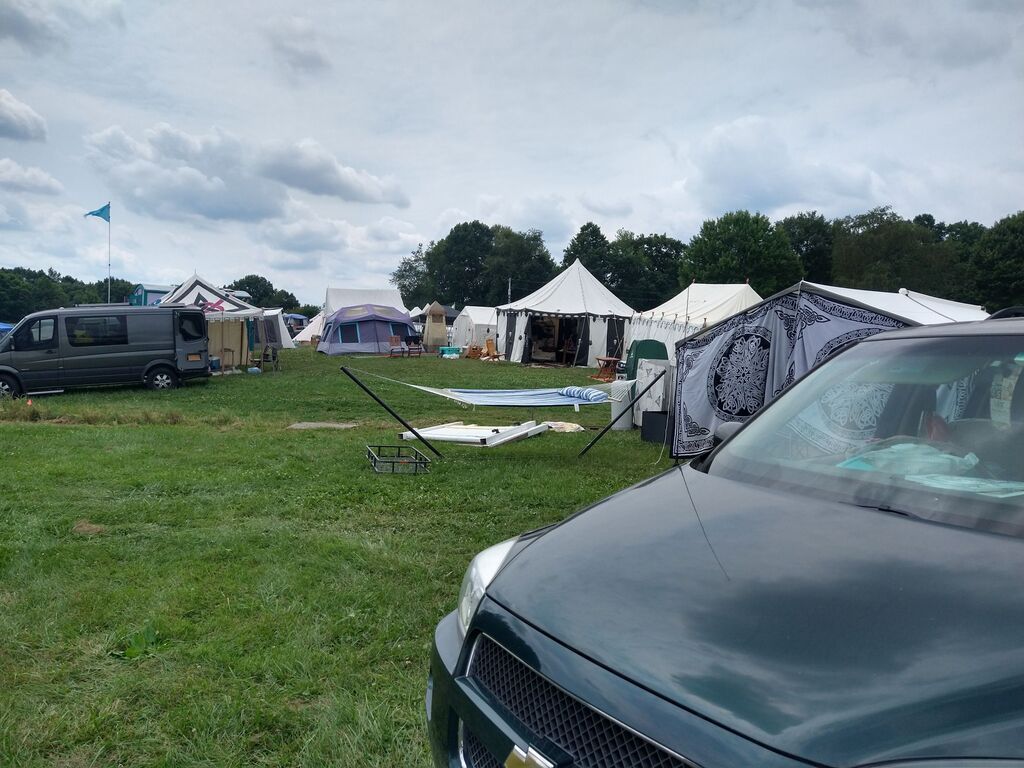
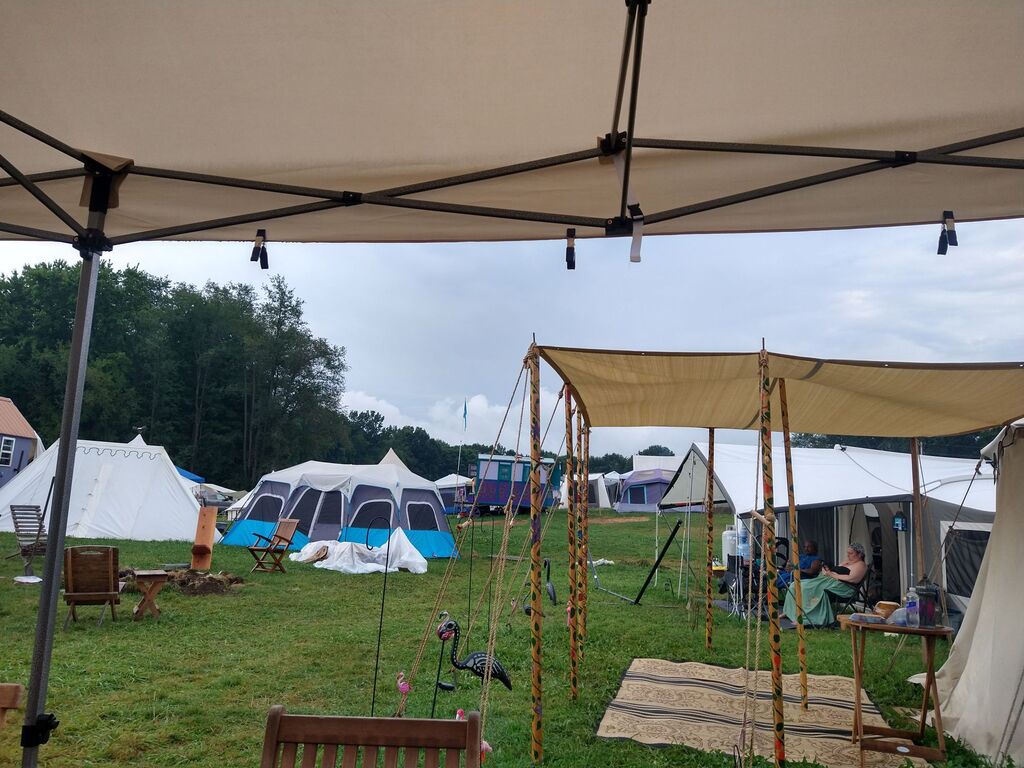
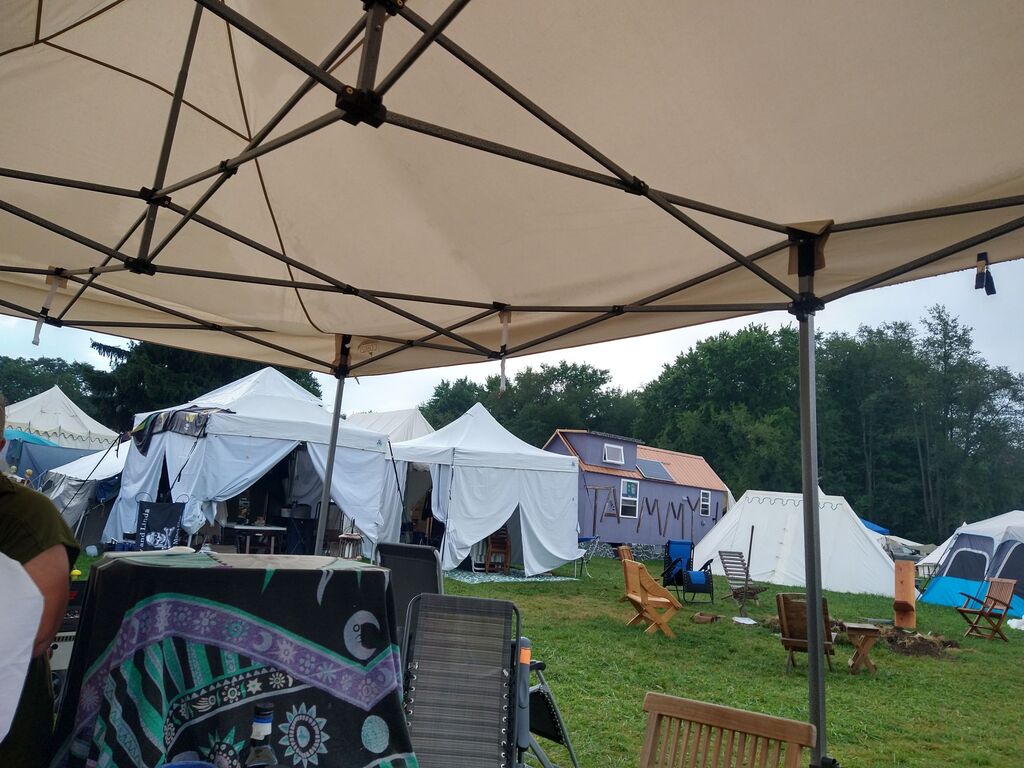
I took some pictures of setup the first couple days because I am amused by the tents with the big vehicles next to them. My car went to parking as soon as I finished getting my rent up and stuff inside. I don’t know if you can see it in the pictures (I can because I know it’s there), but we camp with a small river that has been cut in the middle of the space. I ended up having to park on one side and carry my stuff to the other side. But the advantage of having a river is that when we set up our shower, we don’t need to dig separate drainage! (But we do need to clear the weeds and from the trench to make sure it flows smoothly)
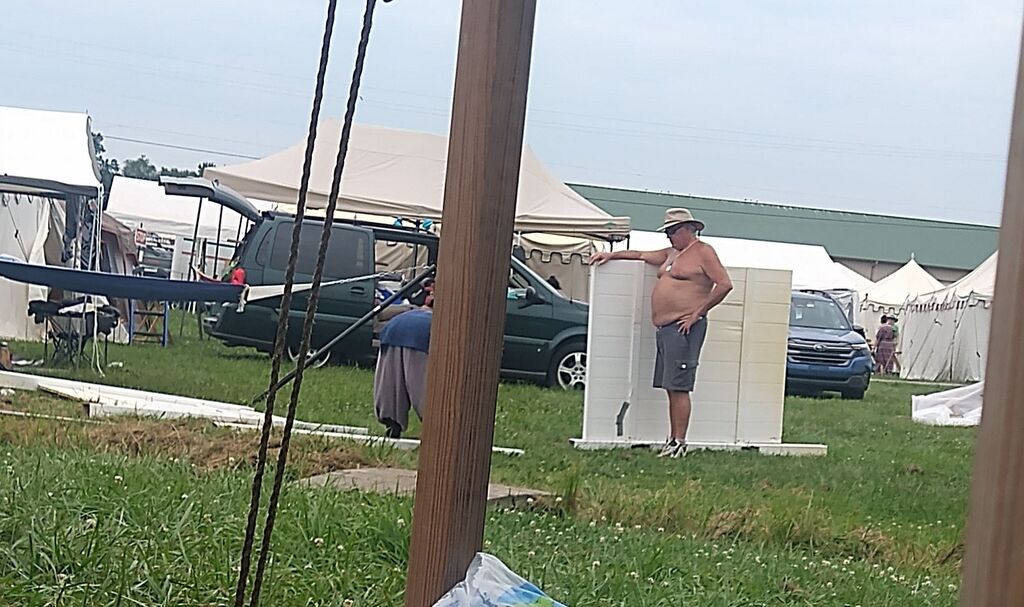
Campmates setting up the shower walls

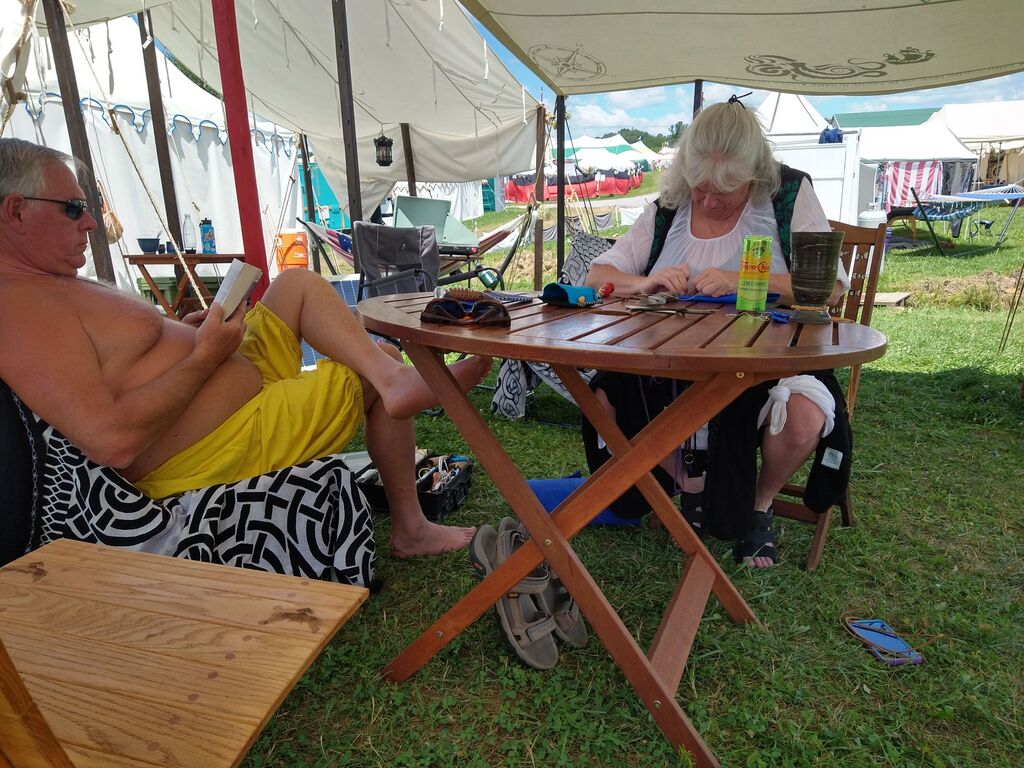
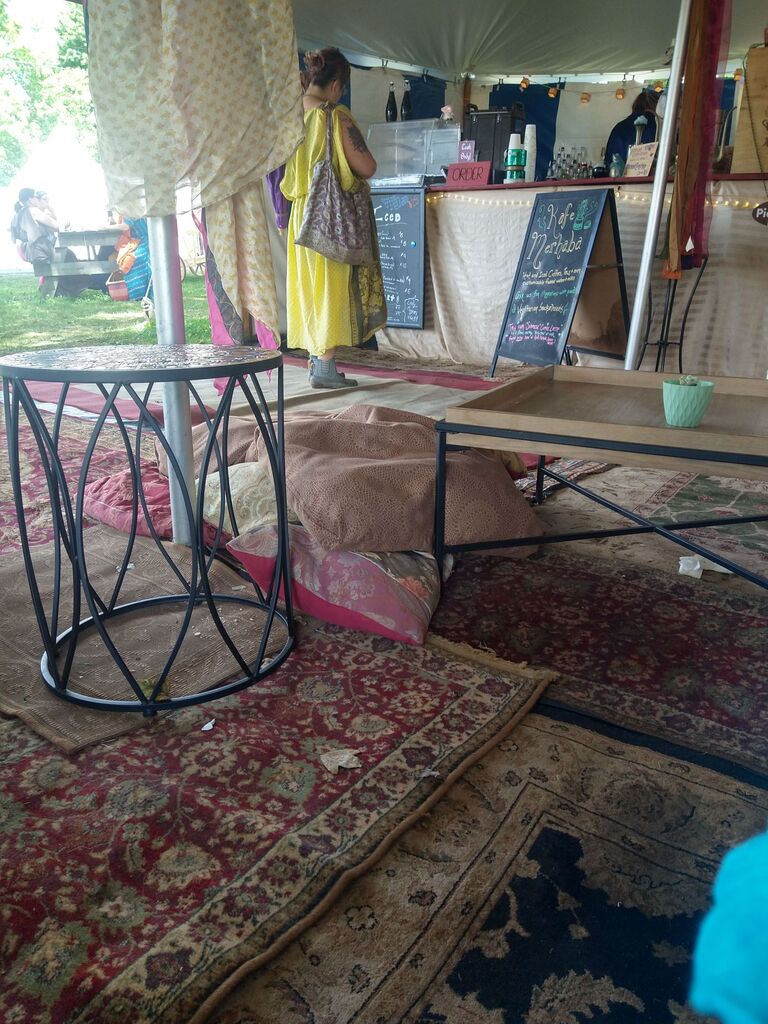
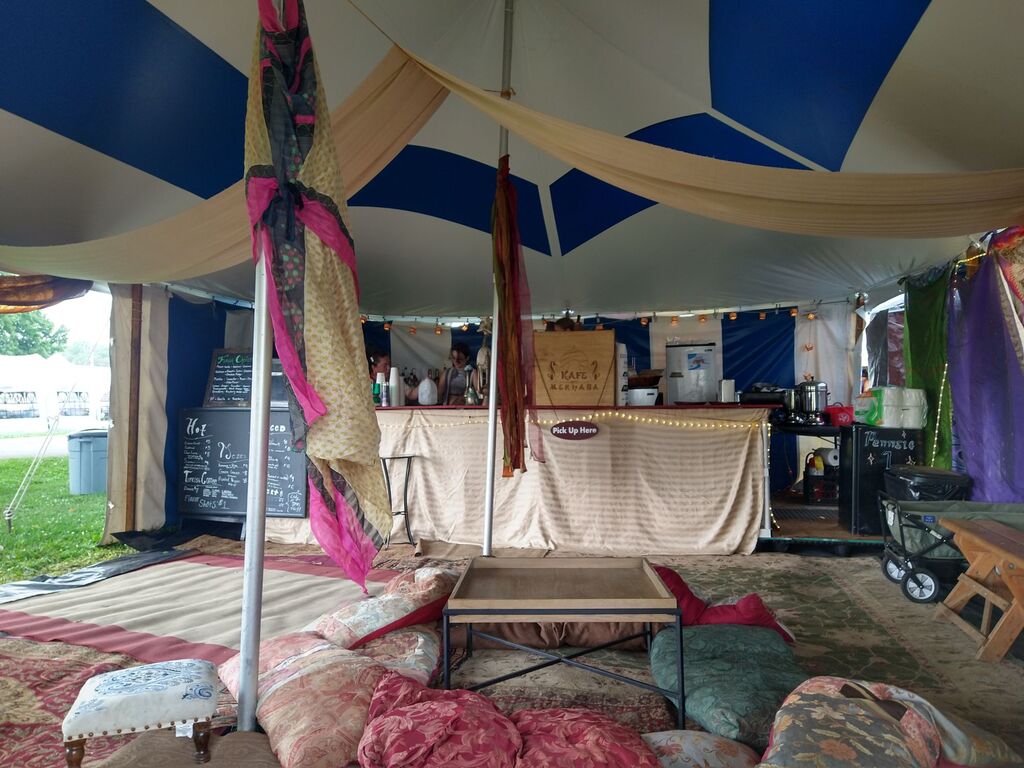
I didn’t end up taking any classes this year. I’ve had a very low activity couple of years, and I was finding that just hanging out near camp, staying hydrated, and slowly stretching and strengthening really helped. But there were people I had wanted to see, and I did get to see them regularly  and I also got spend time hanging out and sewing during the hottest party of the day at my favorite temporary Turkish coffee shop: Kafe Merhaba!
The only cooking experiment I did manage to do was making white rice in an unglazed clay pot over a charcoal brazier. And it didn’t happen the way I thought it would (with two steps at two different heat levels), but instead I just guessed that it was time to peek and see how it was and it was a already done. Did I remember to time the process? No. So I have no idea if it can be replicated. Did I take pictures to document the experiment? Nooo… But I think some of my camp mates did.
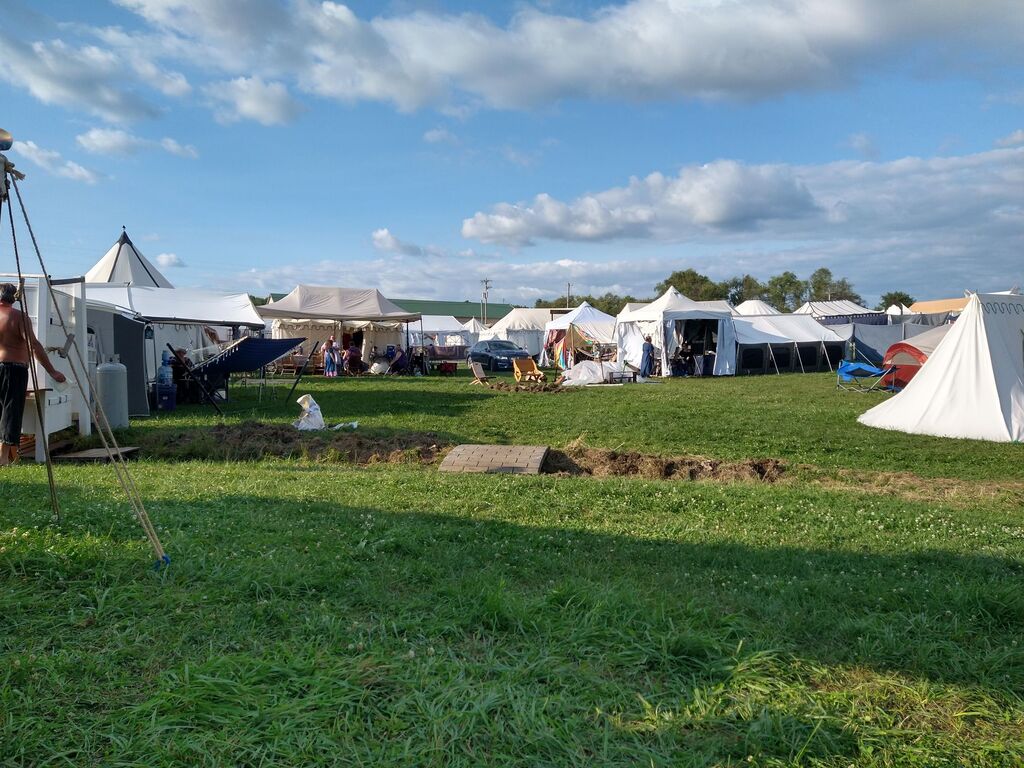
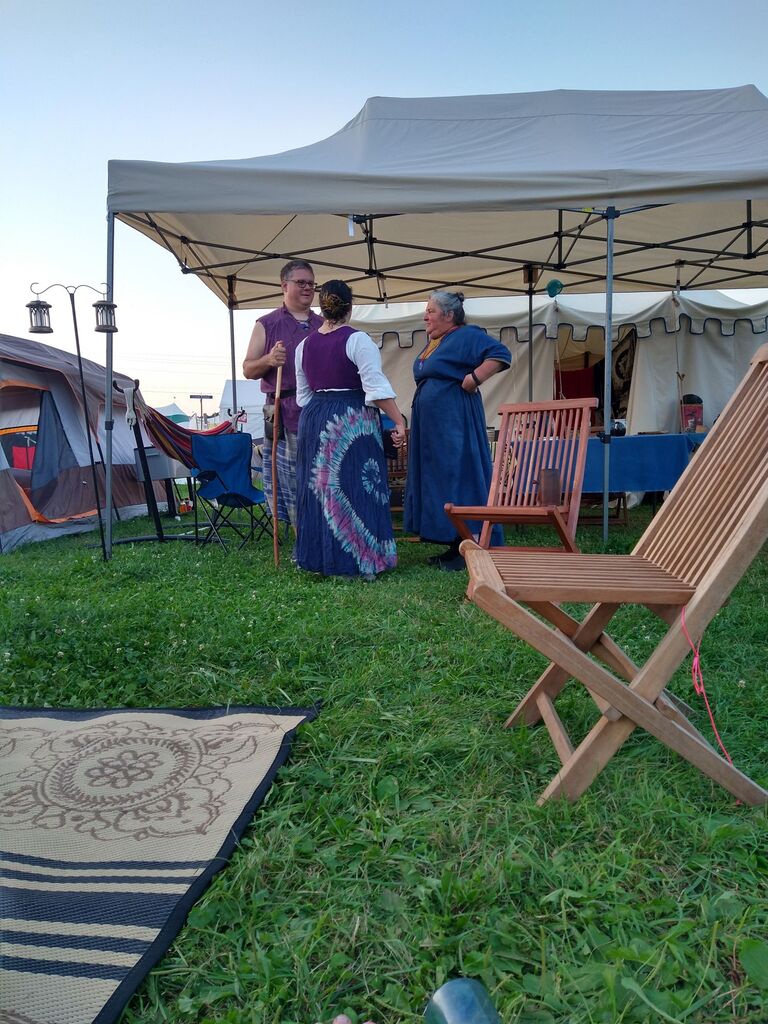
It was a lovely and cozy two weeks spent with some great people I only see when I can get to this event, but there’s no other group of people I would rather camp with.

I did do one new thing this year. I volunteered to help with scoring the A&S competitions (both the main one and the one out together by the collegiate discord. Since I’m still fairly new, my task at the big competition was to review the comments given by the team of judges to make sure they were not rude and did not contain offensive language. It was a fun team to work with, and I’m glad the competitors get to have that level of protection.
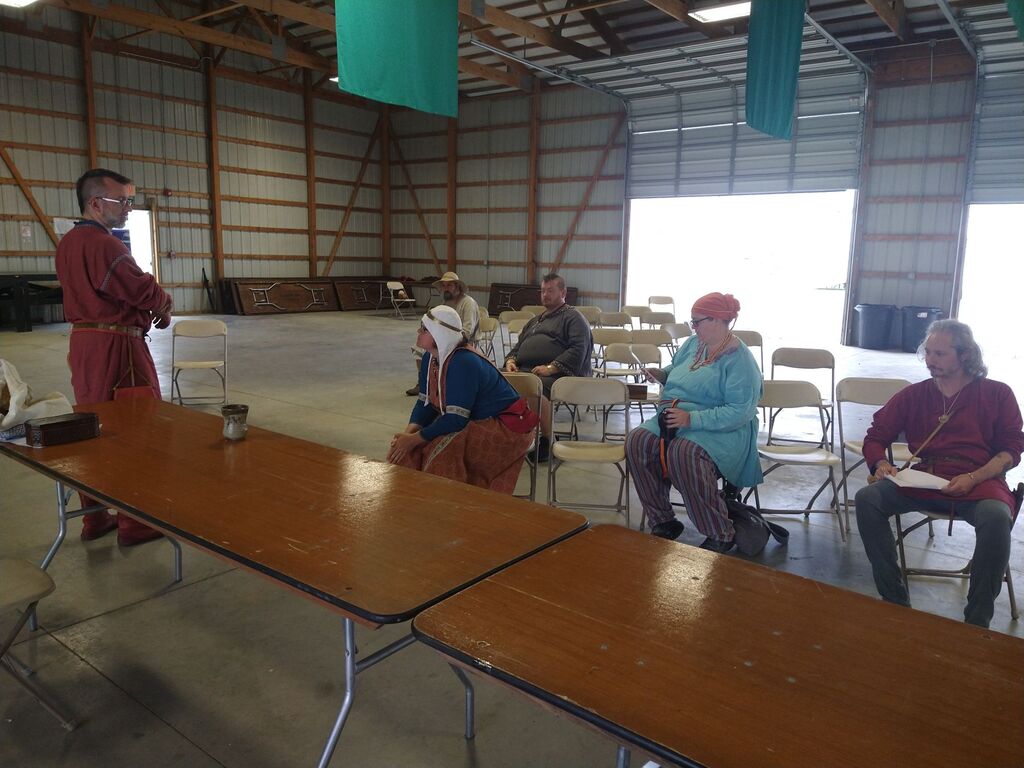
For the college level competition, we only had three entrants and almost a dozen judges eager to support the collegiate participants. We decided to switch from a competition to just giving commentary and feedback because all three were spectacular and there wasn’t much point in trying to rank them.

I think I’ll try to help out with both of these in the future as well.

But that was my Pennsic experience for this year.
Pre-Pennsic sewing

I’m repairing and refreshing all of the garb I’ve made four my friend L over the years.

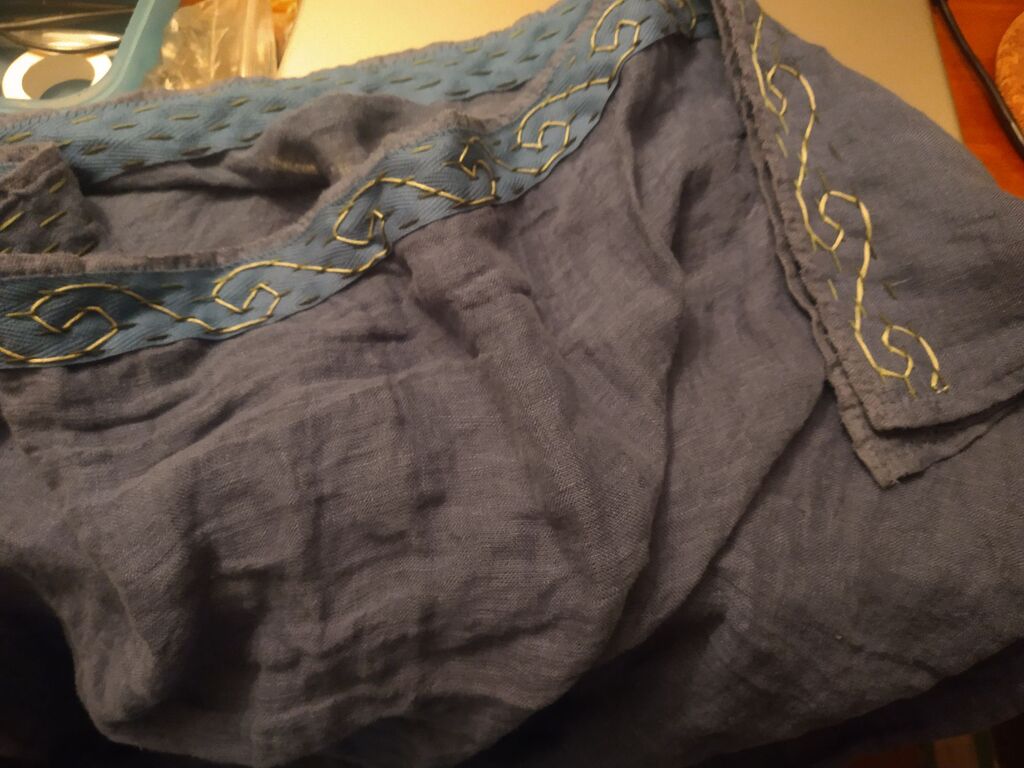
I forgot to take pictures for most of it, but this linen gauze chiton is my second experiment with embroidery.

The gauze ended up being too weak to support the shoulder attachments, even when sewing through the hem. So I added a cotton twill band at the top. I tucked it into the top hem, which ended up having one on the inside and one on the outside of the dress… and I kind of liked how they both looked, so I just went with it.

And then I was looking for a style of embroidery that would be both reinforcing (holding the band to the gauze with minimal stress on the fabric) and beginner friendly (hopefully fast to finish).

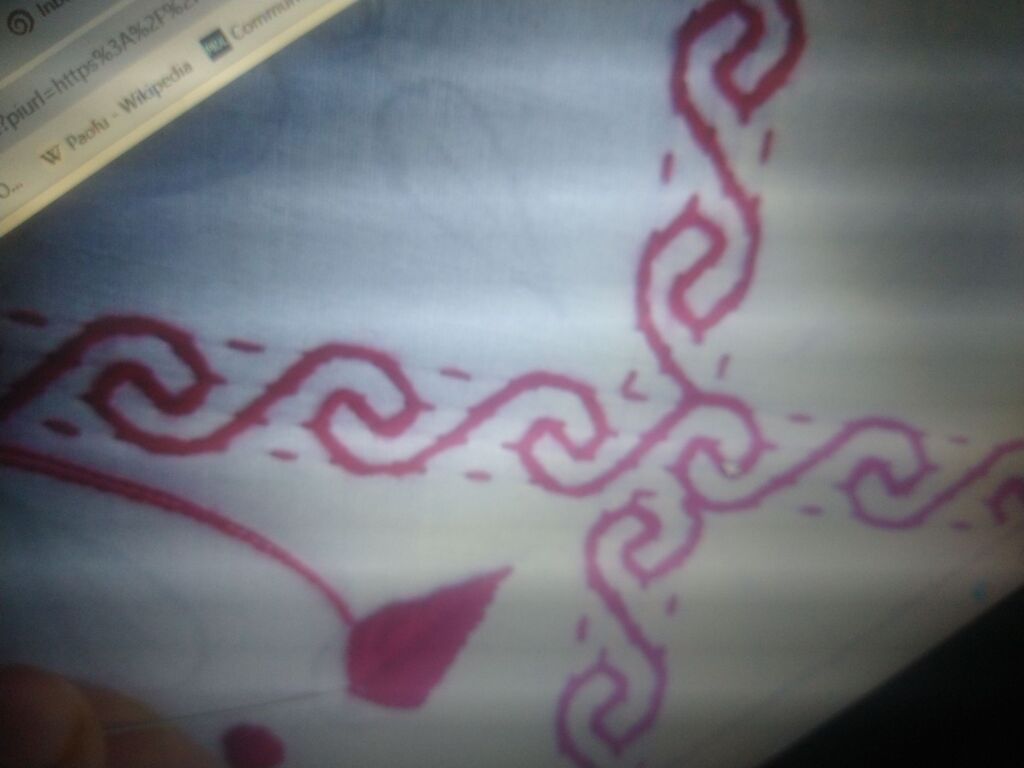
A friend of mine has been advocating for an Indian embroidery style called nakshi kantha (running stitches decorated with interlaced designs). I went looking for a pattern that felt even vaguely Greek/Hellenistic/Roman, and ended up with a waves design.

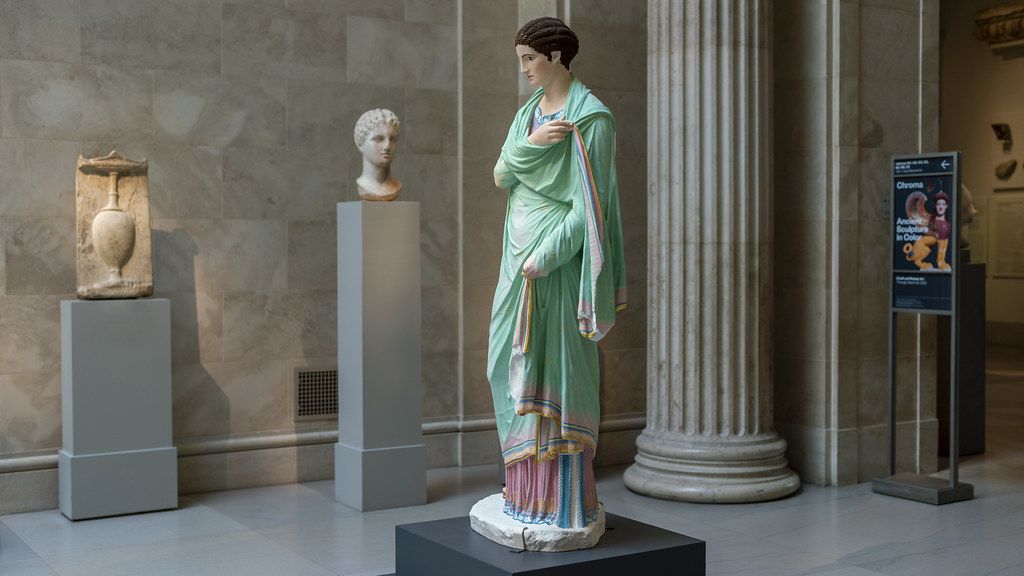
In 2022-2023, The Metropolitan Museum of Art had an exhibit about polychromy in antiquity. I had long been familiar with the Liebieghaus Skulpturensammlung sponsored (and exhibited) work on reconstructing ancient aesthetics, and I’d even seen a few examples at the New Acropolis Museum in Athens, but this was my first time seeing so many of their pieces. And I was struck by the Small Herculaneum Woman statue because not only did it have tastefully vibrant pink and teal, but the teal layer was painted to be translucent with the pink under layer showing through! And this was based on the actual pigment residue.

photo taken by Steven Zucker, Smarthistory co-founder (2022)

And that blue edge that’s goes up vertically on her left side has a wave pattern! So that’s what I was thinking about as I chose this design.

I’ve lost the link to this one, but here’s a similar one
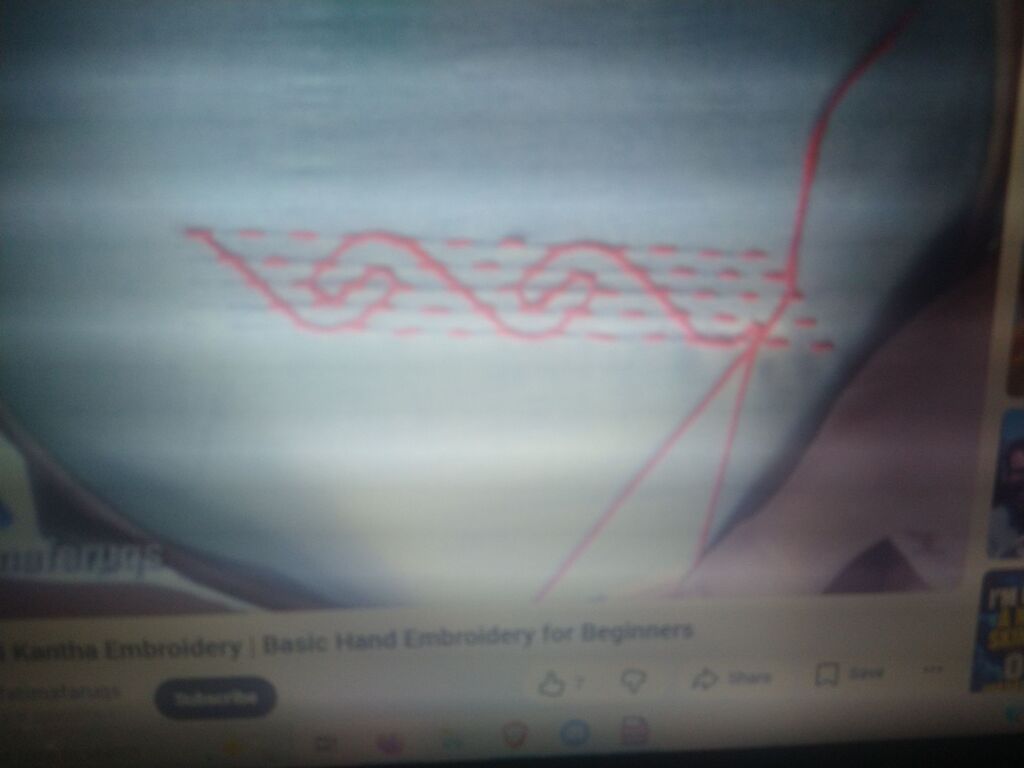
Tutorial by @fatimafaruqs

I found youtube tutorials with four or five lines of running stitches. After asking several friends’ opinions, the consensus was the 4 line version because there was less unused space.

And I scaled up to cover the whole width of the twill tape (and hoping to lower the difficulty).

How did I do?

I think it would look better smaller, and I’m mostly reserving judgement about how much I like it until I’ve seen how it goes through the laundry a couple times and if it snags on things because it’s so loose.

But I do tentatively like it and am kind of proud of myself

Sewing – 1 week tunic

I’m the chatelaine for my local SCA group, so I’ve got custody of the bags of loaner clothes for people who haven’t yet put together their own outfits to wear to events.

We’ve been trying to refresh our options and have donated some of our garb to a newly opened college branch and also had a large chunk of our male garb destroyed by a student’s landlord. So we’ve been replacing some things. Because of the demographics of our group, we’ve mostly been focusing on replacing with larger sized outfits.

But then I had a thinner person looking for garb! For an event at the end of the week. And I was pretty sure we wouldn’t have anything to loan. (But I also didn’t want to promise to have made something because I have never tried to sew with this short a deadline. So I also didn’t ask for measurements)

Step 1 – ‘planning’: I fucked up my math  I knew this person was a size small and had a 31″ waist. So I looked up other standard measurements for a men’s small and decided to go with a 34″ chest. So I took my fabric and measured out 34″, added a bit of extra for comfort, and figured the tunic length would be selvedge to selvedge (~52″) folded in half. And went ahead and cut there.

… And then I realized I had measured out a whole circumference and not the half a circumference I would need. But then I decided to see if I could make the entire piece from this already cut fabric.

Very rough cutting diagram with poorly remembered measurements

Cutting the pieces: So I then divided in half? Well, no. I figured I should make it just a touch wider just in case and just sort of eyeballed how wide the torso would be. This cutting diagram has measurements, but I didn’t actually put a ruler to that part.

Then I measured from my shoulder to over the palm and where my fingers start. And the number 26″ is what I think I got, but I didn’t write it down. It was more than half of the tunic, which does seem very long (or a short tunic) but it was fine.

And I double checked that the narrower part divided in half would make sleeves wide enough. According to the size chart I found, I was aiming for an 15″ upper arm. And these were narrower. BUT once you cut off the taper for the wrist and flip them around to be underarm gussets it would just make that number. Honestly, until it was tried on I still want sure whether this gusset would be big enough. For the wrist diameter, I measured the widest circumference of my hand (because hand sizes have little relationship with waist sizes) and went with a little less than 10″. I centered that on the sleeves and cut the corners off up to the halfway/elbow part.

Honestly, I’m not sure how/why it was still working. But also I figured that I didn’t actually know this person’s size, so we’re winging it!

And then the remaining square I split in half lengthwise and then cut into right triangles for gores.

Sewing it together: first I got the gussets sewn to the wide part of the arms.

Then I got the arms sewn to the midpoint on the shoulder – being careful to keep track of the inside and outside of the pieces. I love flat felling when sewing linen, but sometimes the inside and outside are too similar and I’ll flip pieces. But this time – since it was for someone else, I was very sure to keep track.

Sewing the gusset to the arm with a flat felled stitch that is two parallel running stitches

Once the arms were on, I added the gores. Again, I’m not swearing to the measurements in the diagram. My gores only came up to about 3″ below the arm, and that was with sewing on the hypotenuse (which you want to do so that the bias edge is stabilized by the on grain edge), so that’s why I was free to do that after the sleeves sewing.

Then while I was still flat, and easy to access both the inside and outside, I went to making the neck hole and adding a facing. I decided to turn the facing to the inside, instead of making a contrasting decorative panel, because that’s more appropriate to a wider range of cultures and time periods. But I’d used up all of my square of fabric! Instead of cutting a new piece from the remaining cloth, I went to my scrap stash and looked for a piece the right size (in a lighter color because it would be on the inside and showing through the handkerchief weight fabric a little). There was a white piece that was just perfect.

I feel like I should be able to pin the facing in place and just cut the neckline for both pieces at the same time, but I figured I’d be safe and cut the neckline (narrower than you actually want – because seam allowance – and a keyhole slit for ease of putting it on) on the primary fabric first. Then just a rough (slightly smaller) hole on the facing. Pin all of the sides flat and even. Then sew around the neckline.

After you’ve gotten it sewn, then trim the inside of the circle to the right shape and amount of steam allowance you want. And clip the seam allowance at the curves and corners. Then I flipped it to the inside and did another line of stitching around the neckline pulling the facing in slightly so that the yellow fabric would cover all the way over the turn.

Then I spread the facing fabric as smoothly as I could and pinned it in place. A more diligent person would have paused to iron here. And I whip stitched the edges of the facing down.

Now! I could finally sew up the long side seams.

Three flat felled seams coming together neatly is just so very satisfying

I’ve found that when I’m flat felling, I do have to cut in a little deeper in the seam allowance when I’m going around the points of the gores so that I have room to tuck all of the raw edges into the seam.

Finished garment!

For the side seams, I started at the wrist because that’s the part that most visibly needs to line up. Then a running stitch down to the hem. And then on the way back, fold everything over and flat, and then another running stitch holding the folks down on the way up. It’s surprisingly fast and much more stable than I ever thought running stitches would be.

When I came to the end of each wrist with a finished seam, I went ahead and folded the fabric on twice and hemmed the wrist opening.

At the end, all that was left was a quick hem of the bottom of the skirts.

If I had more time (or if it returns to gold key) I would like to add some simple embroidery to the area over the facing to keep the material folded inside flat when it gets washed. But that is an experiment for the future.

Meanwhile, I did finish in time, AND the tunic fit the recipient perfectly.

Breakfast Kale with an Egg on Top

Close up of the finished dish with a nest of cooked shredded kale and a soft poached/steamed egg in the middle of that nest

I’ve already written up this recipe a couple of times, but I wanted to update it. Here’s the post where I cite the original Roman recipes that inspired this meal.

Diced purple onions in a skillet

Start with finely chopping up a few slices of purple onion and sauteing them in a little olive oil.

A pile of shredded kale with a bottle of sweet red wine and a bottle of Red Boat fish sauce in the background

Let’s talk about ingredients

Kale – I like growing Red Russian Kale because it has a flatter leaf that is easier than most varieties to check for bugs as it is growing, but also a softer texture that cooks up nicely when harvested. This recipe will work with any variety of kale.

Wine – This should be a red wine, and I prefer a sweeter variety. Honestly, I love the kosher Manischewitz concord grape or blackberry flavors both for drinking and cooking with. But I also keep a bottle in my refrigerator of boiled down and concentrated red wine from any time I have a leftover partial bottle, and that would also work well here. Whatever you’ve got.

Fish sauce – I am pretty sure the ancient Romans used at least two different kinds of fish sauce. There’s the garum, which is very light colored and quite polite. That’s the table fish sauce for adjusting flavor after cooking. And then there’s the liquamen, which is almost ubiquitous in these recipes and seems to function for adding salt. So I look for the funkiest and saltiest fish sauces available. I’ve had good luck with the Squid Brand and Red Boat. Use the salty one with kale!

[if you want to avoid fish sauce, then you can switch to a powdered bouillon (maybe half a cube or less), soup base, or Maggi cube]

Skillet with some onions and kale

Okay, so your onions are getting caramelized around the edges and a little brown. Your patience will be rewarded. Now you can fill your pan with shredded kale (this is about 5 or 6 large leaves) and you can throw in other green herbs (parsley, cilantro, dandelion greens, scallion greens, dill, mint, random foraged edible things) if you want, but I usually just go with kale because if I’m growing it in my garden, then I already have too much of it to get through.

Cook the kale until it just brightens. If you want, you can add a teaspoon or two of water to help it move around, but it should be pretty dry right now. Because as soon as it’s a little cooked, v you’re going to add a teaspoon of fish sauce and a teaspoon of red wine and that with sizzle and steam everything up.

Mix everything together well and then tuck everything toward the middle of the pan with a little divot in the middle to make a nice nest.

Then crack an egg into the middle of the nest, grind some black pepper on top, and cover the pan and let the egg poach in that steam to cook.

A skillet with a silly hat of an aluminum takeout container as a lid.

I’m just a few minutes (it’s okay to peek) the egg will set. The yolk will turn from yellow to a pinkish color and the white might jiggle but it will all be white. If you want the white harder, you can go a little longer, but you risk your yolk solidifying and not being as runny. It’s your egg, so make it the way you like.

The finished dish!

I like to eat this with a bagel and cream cheese. And with a spoon. Enjoy!

Ova Elixa – Eggs dressed with fish sauce

This is another Roman recipe. I made it for Noisemakers IX.

So a lot of SCA events just have a bowl of hard boiled eggs in the shell – pretty much for people to fill up on when they aren’t adventurous for weirder dishes. So I found a recipe that would make hard boiled eggs one of the adventurous dishes.

These were served cut into quarters and already drizzled with the sauce, and a side pitcher so you could add more sauce, if desired.

Ova Elixa: liquamine, oleo, mero vel ex liquamine, pipere, lasere – Apicius VII, xix.2

Boiled eggs with a sauce containing fish sauce, olive oil, red wine, black pepper, asafoetida

So for the fish sauce, I ended up being convinced by my favorite cheese mongers to try BLiS barrel aged fish sauce. And I chose this dish to use it on because I thought the woodiness and the eggs would go well together.

We strewed the plate with baby arugula so the eggs wouldn’t shift in transport from the kitchen to the buffet.
The pitchers with the sauce were made by Brunissende.

And this was at the very start of the buffet so that it would be like the sources in a Roman dinner party – from eggs to nuts – but I forgot to put out the nuts in the end.